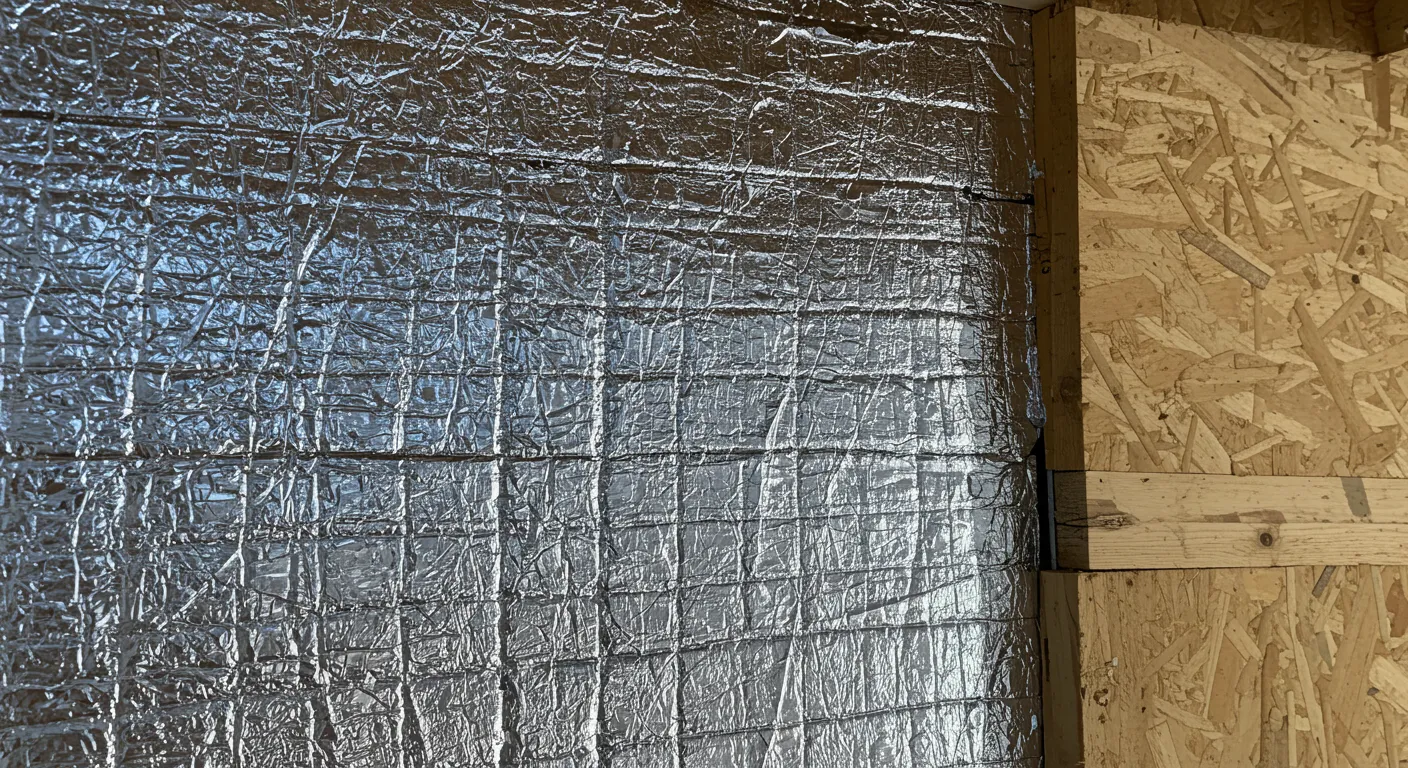
Excess noise in a home can lead to distractions, stress, and discomfort. Sound barrier insulation helps reduce unwanted noise by absorbing or blocking sound waves, making your living space quieter and more comfortable. Whether you’re looking to soundproof a single room or an entire house, proper installation is key to achieving effective noise reduction.
This guide provides a detailed step-by-step approach to installing sound barrier insulation, covering materials, methods, and expert tips for the best results.
Understanding Sound Barrier Insulation
How Sound Travels in a Home
Sound moves through air and solid materials, bouncing off surfaces and passing through walls, ceilings, and floors. Without proper insulation, sounds from outside or other rooms can easily enter your space.
Types of Sound Barrier Insulation
- Fiberglass Insulation – Common in walls and ceilings, absorbs sound waves effectively.
- Mineral Wool Insulation – Offers better density and sound absorption compared to fiberglass.
- Acoustic Foam Panels – Ideal for home studios and media rooms, designed to absorb high-frequency noise.
- Mass Loaded Vinyl (MLV) – A dense, flexible material that blocks sound transmission.
- Spray Foam Insulation – Expands to fill gaps, reducing both noise and air leakage.
Preparing for Installation
Selecting the Right Insulation
Choosing the right material depends on your goals:
- Reducing airborne noise (voices, TV, music) – Use fiberglass or mineral wool insulation.
- Blocking impact noise (footsteps, door slams) – Combine MLV with rigid soundproofing boards.
- Soundproofing ceilings – Consider resilient channels to decouple drywall from framing.
Tools and Materials Needed
- Sound barrier insulation of choice
- Utility knife and measuring tape
- Staple gun (for fiberglass and mineral wool)
- Adhesive spray (for foam panels)
- Safety gear (gloves, mask, and goggles)
- Drywall and screws (if adding an extra layer for soundproofing)
Step-by-Step Installation Guide
1. Assess the Space and Identify Noise Sources
Walk around the room and determine where noise enters. Walls, ceilings, and doors are common weak points.
2. Prepare the Work Area
- Clear the space for easy access.
- Wear protective gear to avoid inhaling fibers or chemicals.
- Shut off electricity if working around outlets or wiring.
3. Installing Insulation in Walls
- Measure and Cut – Cut insulation batts or rolls to fit snugly between wall studs.
- Secure the Insulation – Place insulation between the studs, ensuring no gaps.
- Cover with a Vapor Barrier – If required, staple a plastic vapor barrier over the insulation.
- Install Drywall – Secure a layer of drywall over the insulation and seal gaps with acoustic caulk.
4. Insulating Ceilings
- Use resilient channels to separate drywall from joists, reducing sound vibrations.
- Install fiberglass or mineral wool insulation between joists.
- Cover with drywall, ensuring all seams are sealed with acoustic caulk.
5. Soundproofing Floors
- Apply a soundproof underlayment beneath carpets or hardwood floors.
- Use MLV sheets under flooring materials for additional sound blocking.
6. Sealing Gaps and Openings
- Use acoustic caulk around doors, windows, and outlet boxes.
- Install weather stripping around doors to prevent sound leaks.
Making the Most of Your Sound Barrier Insulation
Combining Multiple Soundproofing Techniques
Using a combination of materials and techniques enhances noise reduction. For example:
- Pairing MLV with fiberglass insulation increases both absorption and sound blocking.
- Adding a second layer of drywall with Green Glue further dampens sound waves.
Professional vs. DIY Installation
- DIY Installation is possible for small-scale projects like insulating a single room.
- Professional Installation is recommended for whole-house soundproofing, ensuring precision and effectiveness.
Need Help with Installation?
For expert advice and professional sound barrier insulation services, contact iDAFOAM at (208) 806-3242 or email [email protected]. Our team can help you choose the right insulation and ensure proper installation for maximum noise reduction.
FAQs
How much does sound barrier insulation cost?
Costs vary based on the material and project size. On average, fiberglass insulation ranges from $0.50 to $2.00 per square foot, while MLV can cost $2 to $5 per square foot.
Can I install soundproofing insulation over existing walls?
Yes, adding MLV, foam panels, or additional drywall layers over existing walls can improve soundproofing without removing the current drywall.
What is the best insulation for blocking sound?
Mineral wool and MLV offer the highest soundproofing effectiveness. Combining them with acoustic caulk and additional drywall enhances results.
Will sound barrier insulation affect temperature regulation?
Yes, many soundproofing materials, like fiberglass and mineral wool, also provide thermal insulation, improving energy efficiency.
How long does it take to install sound barrier insulation?
A single room can take a few hours to a full day, depending on the level of insulation and any additional drywall installation.
Can soundproofing insulation be used in apartments?
Yes, temporary solutions like MLV, foam panels, and door sweeps can reduce noise without permanent changes.
Is spray foam good for soundproofing?
Spray foam is effective at sealing gaps, but it is not as effective as fiberglass, mineral wool, or MLV for blocking sound.
Do I need a permit to install sound barrier insulation?
For basic insulation projects, permits are usually not required. However, if major wall modifications are involved, check local building codes.
What is the difference between sound absorption and sound blocking?
- Sound absorption reduces echo and reverberation (e.g., acoustic foam).
- Sound blocking prevents sound from passing through walls (e.g., MLV, mineral wool).
Can I combine different soundproofing materials?
Yes, layering materials like fiberglass with MLV or additional drywall improves effectiveness by addressing different types of noise.
